
Craft ideas & projects
Organize Craft Room Labels by Workflow So Supplies Are Easier to Find
A practical labeling system for materials, storage locations, and project stages, with a small trial before committing to finished labels.
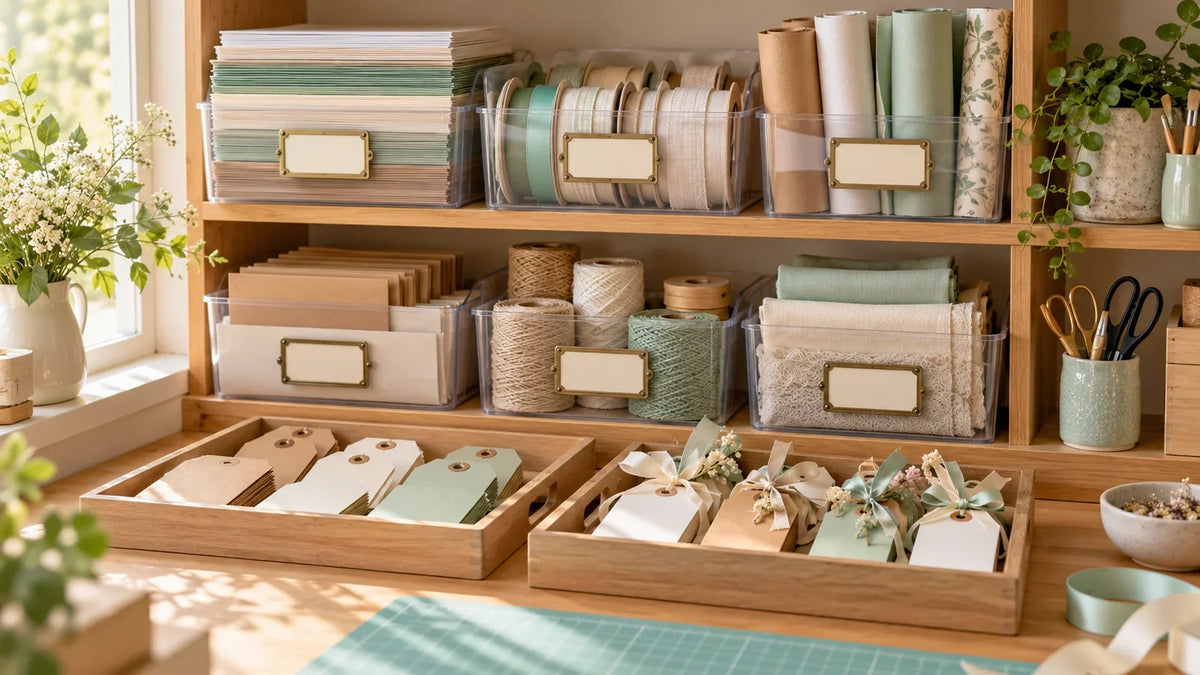
Organize craft-room labels around the decisions you make while working: what a material is, where it belongs, and what needs to happen next. Start with one crowded drawer or shelf, give each group a plain-language name, and try temporary labels before cutting a matching set.
A label that says “Blue” is attractive but incomplete if the bin contains both adhesive vinyl and iron-on. “Adhesive vinyl · blue” answers a more useful question. The system below is a planning method you can adapt to a desk, closet, or shared room; it does not depend on buying new containers.
Follow one project through your space
Choose something you make regularly, such as gift tags or vinyl labels. Write down where you gather supplies, prepare the artwork, make the project, and pack the finished pieces. Notice where you stop to search or leave a half-finished pile.
Use those interruptions to choose your first labels. If you repeatedly hunt for ribbon, label the ribbon storage. If finished tags get mixed with unfinished ones, label the project trays. You do not need a label on every object.
Our project-first guide to Cricut tools can help you separate a useful tool from an accessory you rarely reach for. Keep the frequently used items easiest to return.
Use three kinds of labels, for three different jobs
1. Material labels: identify the contents
Name the material before its color or decorative style. For example:
- Adhesive vinyl · removable
- Iron-on · manufacturer identified
- Cardstock · white · original pack retained
- Printable sheets · inkjet-compatible
- Ribbon · narrow widths
Keep the original packaging or a reference card with the exact product name and instructions. A homemade label is an aid to finding supplies, not a replacement for warnings, compatibility information, or product directions.
If you cannot identify a loose sheet, use “Unidentified · check before use.” Do not assign it to a material category just because it looks similar. The difference between iron-on and adhesive vinyl matters more than a matching color scheme.
2. Location labels: make returning things easy
Use broad names for shelf positions and narrower names for containers. A shelf might say “Paper projects,” with boxes labeled “Tags,” “Envelopes,” and “Offcuts.” Put the same name on the shelf and the box only when it helps someone return a movable container.
For shallow drawers, place the label on the front. For bins you view from above, a front label alone may be invisible; add a lid card or a divider tab where you actually look. Test the location while standing or sitting in your normal working position.
3. Status labels: show the next action
Try a small set such as “To prepare,” “In progress,” “Check,” and “Ready to pack.” These belong on trays or project folders, not permanent material bins. A project can move between stages without changing where spare supplies live.
Keep “Check” specific with a note: “Count twelve tags” or “Confirm name spelling.” Avoid a growing box called “Later” with no next step.

Build a small example system
For a gift-tag workspace, you could use one drawer for cardstock and ribbon, one project folder for the current design, and three trays for cut pieces, assembly, and packing. This is an example layout, not a requirement for three trays.
- Put material information on the storage containers.
- Put the project name and intended quantity on its folder.
- Put the next action on each working tray.
- Return unused supplies to storage when the project is packed.
That separation prevents “Christmas tags” from becoming a catch-all label for raw paper, unfinished work, and completed orders. Seasonal names can go on a removable project card while the underlying storage categories stay useful all year.
Choose a label you can read and replace
Write the words on plain paper first. Hold the sample against the container and read it from your usual distance. Short names, a simple letter style, and strong text-to-background contrast are good starting choices. Color can reinforce a category, but the words should still identify it.
Then choose how the label attaches. A card in a holder is useful while you are still changing categories. If you choose an adhesive label, check its compatibility with the container. Avery distinguishes permanent, removable, and repositionable adhesives; those names do not mean the same thing. Its removable products may hold less well on some curved or low-surface-energy surfaces.
Follow the label and container makers' preparation instructions. Avery's application guide calls for a dry surface free of residue. Use only a cleaner the container's maker permits, and try a discreet area before committing to a visible finish. Do not assume a removable label guarantees damage-free removal from every surface.
Make only the labels that survive a trial
Use the temporary set for a few normal projects. Rename any category that makes you hesitate. Split a bin only when you are repeatedly sorting through unrelated supplies; merge two categories when you always use and return them together.
Once the wording works, make the finished labels in the measured space available. For cut-vinyl labels, the vinyl-scrap sizing guide helps match short names to usable pieces. Keep a written list of your final names so the next label matches the system, not just the font.
Start with one place where you lose time searching. A clear label and an obvious return spot are more useful than a fully decorated room with categories you cannot remember.


Comments & Reviews
Be the first to share your thoughts.