
Craft ideas & projects
How to Make SVG Files Easier to Cut with Cricut and Silhouette
Check the geometry that matters before cutting: final size, overlaps, holes, islands, and the operations your machine will follow.
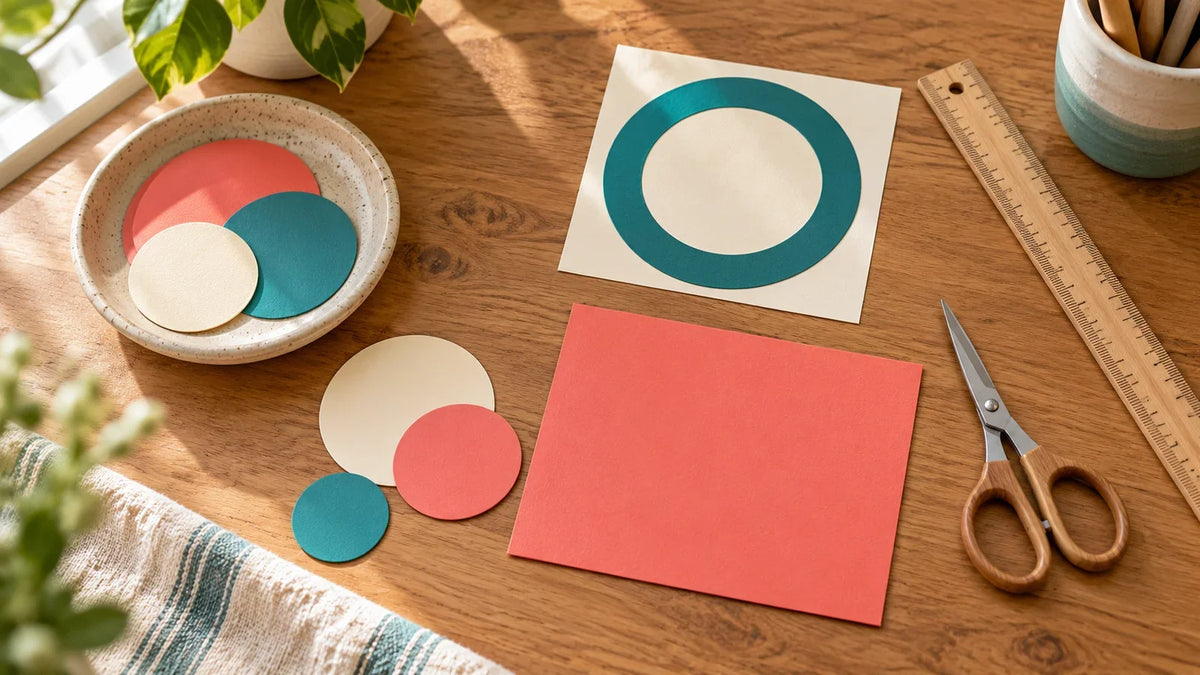
To make an SVG easier to cut, check its geometry at the size you will actually use. Remove accidental duplicate shapes, join overlaps that should form one piece, preserve intentional holes, and decide which small pieces must stay connected. Then check the cutting operations and test the most demanding detail in your chosen material.
This is a file-preparation checklist, not a promise that one setting will work for every machine or material. A design can look clean on a screen yet contain pieces that are awkward to weed or assemble.
1. Decide what should remain after cutting
Before editing, write down the finished size, material, and project type. Save a working copy so you can return to the original. Only modify artwork you own or have permission to edit; do not overwrite a purchased source file.
Ask a simple question: “Which parts am I keeping?” The answer changes how you prepare the same artwork.
- Adhesive vinyl decal: Separate dots, letters, and decorative pieces may be intentional. Plan how you will weed and transfer them rather than automatically joining everything.
- One-piece paper shape: Every detail that belongs to that piece needs a physical connection, unless you intend to glue separate components together.
- Reusable one-piece stencil: Enclosed centers need bridges to the surrounding stencil material if you want them to remain attached.
For example, the center of a stencil letter O becomes a loose disk without a bridge. That is different from a solid vinyl O decal, where the center is intentionally removed. Decide whether you are keeping the letter or the surrounding sheet before changing either shape.
2. Set the finished size before judging detail
Resize the whole design proportionally to its intended dimensions. Inspect narrow connections, tiny dots, sharp points, and small gaps at that size. A decorative flourish that works on a large sign may become an unnecessarily delicate sliver on a small gift tag.
There is no single minimum feature width that guarantees success across cardstock, vinyl, blades, and machines. Instead, mark the narrowest bridge and smallest piece you need to keep. These become your test features.
If a detail is not essential, consider removing it. If it carries meaning, try enlarging the complete design, widening that feature, or making a simpler small-format version. Keep a record of the change so your large and small versions do not get confused.
3. Find duplicate paths and unintended overlaps
Two identical objects stacked directly on top of each other can look like one object. In a working copy, inspect the object or layer list. Temporarily move a suspicious object aside to see whether another remains beneath it, then undo the move. Delete only the confirmed unwanted copy.
Do not assume a repeated blade movement proves that duplicates exist. Deliberate multiple passes can also repeat a cut. Check the file structure and job settings separately.
Next, inspect overlaps. Suppose two overlapping circles should become one solid cloud shape. Keeping both outlines may leave internal cuts you did not intend. Merge their geometry only when the result is supposed to be a single shape. Do not merge differently colored pieces that you plan to cut separately.
In Inkscape, Union creates the combined outer outline of selected paths, while Difference subtracts one from another. Combine keeps their parts within one path object; it is not interchangeable with Union. Check the resulting holes and outline after any operation. See the Inkscape guide to Boolean operations.
4. Preserve useful holes and connect only the right islands
A hole is not necessarily an error. The opening in a letter A and the center of a ring are part of the artwork. Avoid a blanket “remove all interior cuts” approach.
For a stencil, sketch the material that must remain, then add bridges between isolated centers and the surrounding sheet. Check that each bridge remains visible after importing and resizing. A bridge drawn as an extra line is not enough: the final cut geometry must leave an actual strip of material uncut.
For a decal, keep separate accents when they are practical to transfer. If several tiny stars do not contribute much to a small design, removing a few can be more useful than trying to preserve every detail. This is an editorial choice for your own artwork, not a reason to alter a seller's design without permission.

5. Match the software operation to your intention
In Cricut Design Space
Attach keeps objects in their relative positions on the cutting mat. It does not turn overlapping objects into a single outline. Weld joins shapes and removes overlapping cut lines; Unite also joins shapes while keeping the component objects editable. Keep a backup before changing geometry.
Flatten creates a printable image. It is not the repair for an ordinary cut-only vinyl design. Review the operation assigned to each layer and the preparation preview before cutting. Cricut explains these distinctions in its Canvas and Layers panel guide.
In Silhouette Studio
Opening SVG files requires Designer Edition or above; Basic Edition does not include SVG import. Silhouette's Designer Edition feature guide confirms this requirement. Verify your edition before treating a file-opening problem as damaged geometry.
Inspect the job in the Send panel and compare the selected cut lines with what you intended to keep. If the wrong contours are active, resolve that before sending the job. Do not use the appearance of the filled artwork alone as your final check.
If the file format itself is confusing, use our guide to SVG, DXF, EPS, and PNG. For a print-versus-cut decision, see SVG versus PNG for Cricut.
6. Test the difficult detail, not just a large square
Follow the material manufacturer's guidance for your machine and tool. Silhouette Studio includes a Test Cut feature in the Send panel, described in its official test-cut guide.
After the basic material test, try a small sample containing your design's narrowest bridge, smallest required island, and tightest gap at their intended final size. Do not shrink the complete design just to save material: that changes the details you are evaluating.
Check whether the required pieces survive removal, whether the gaps clear, and whether assembly is realistic. If the test fails, change one factor at a time. When a feature is too delicate for the project, revise the geometry rather than assuming extra pressure will solve it.
Your final preflight check
- The project has a recorded final size and a separate working copy.
- Every remaining piece and hole serves a purpose.
- Confirmed duplicate objects are removed; intended color layers remain separate.
- One-piece stencils and paper shapes have the connections they need.
- The cutting preview matches the intended operations and contours.
- A representative detail has been tested in the intended material at its final size.
A cut-ready SVG is not simply the file with the fewest objects. It is the file whose geometry, assembly plan, and cutting instructions agree.


Comments & Reviews
Be the first to share your thoughts.