
Craft ideas & projects
How to Convert PNG to SVG in Inkscape: Step-by-Step
Trace a simple PNG in Inkscape, inspect the vector paths, remove the source bitmap, and save a clean SVG without losing important details.
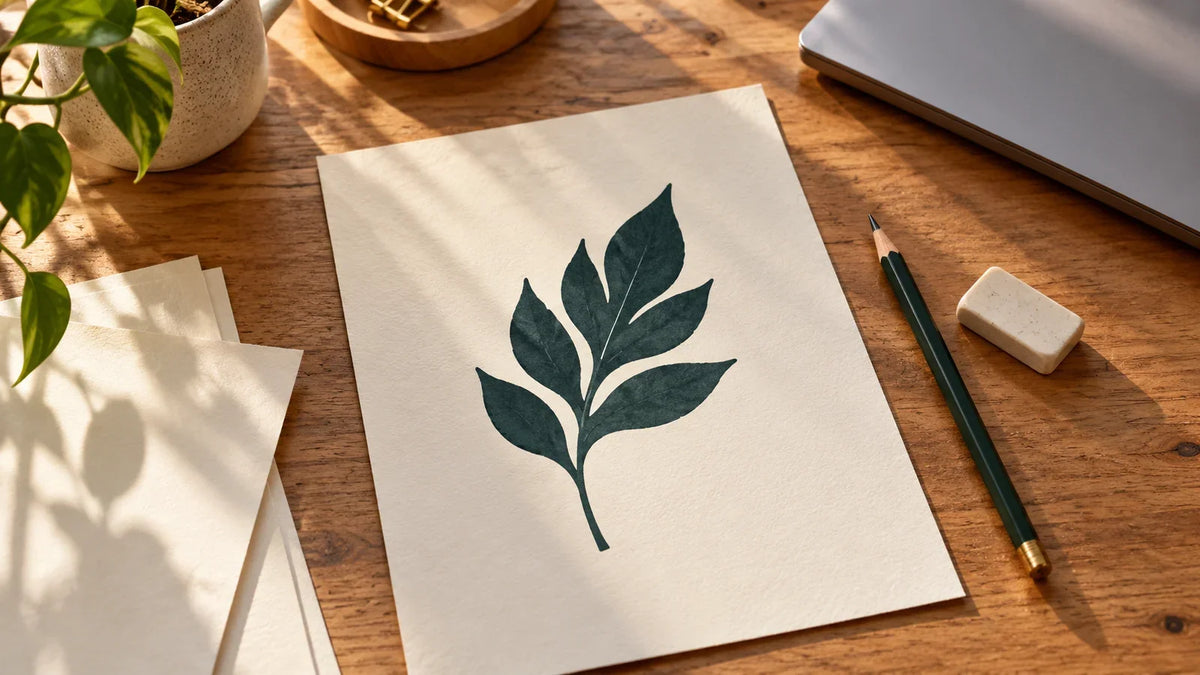
To convert a simple PNG into editable SVG paths in Inkscape, import it, run Trace Bitmap, inspect the new vector, and save the cleaned result as an SVG. Saving an imported PNG with an SVG filename is not the same as tracing it.
This walkthrough focuses on original, solid black artwork against a clean white background—a leaf, heart, or similarly simple silhouette. It is not a promise to turn a photograph or detailed multicolor illustration into a perfect cut file.
Start with a shape worth tracing
Choose an image you created or have permission to adapt. For practice, draw a broad leaf with a short stem and no lettering. A single recognizable shape makes errors easier to spot than a page of tiny details.
Before opening Inkscape, look at the outline. Can you identify where the shape ends? Are small gaps intentional? If the source already looks fuzzy or broken, keep expectations modest: tracing is an interpretation, not a way to recover missing original detail.
If you need the artwork's printed appearance rather than editable paths, first check when to use SVG versus PNG for Cricut. Conversion may not be necessary.
1. Import the PNG without losing your source
Open a new document and choose File > Import. Select the PNG. If asked whether to link or embed it, embedding keeps a copy inside the document; a linked image depends on its external file remaining available. Inkscape explains this distinction in its image-import guide.
Save this working document separately from your original PNG. Use a descriptive name such as leaf-trace-working.svg. Keep the PNG unchanged so you can return to it if cleanup goes too far.
2. Create a single silhouette trace
Select the imported image with the Selector tool, then open Path > Trace Bitmap. Choose Single scan and Brightness cutoff. Refresh or enable the preview, adjust the threshold while watching the outline, and apply the trace. Button labels may differ with your Inkscape version.
The new vector sits over the original image. Move it aside with the Selector tool so you can see both. These steps follow Inkscape's tracing guide, which recommends dark silhouettes on bright backgrounds and cautions that tracing is not an exact reproduction.
3. Judge the shape, not a favorite setting
For the leaf example, compare three landmarks: the pointed tip, the two broad sides, and the stem. A pleasing outline is more useful than a particular threshold number.
- Tip missing? Compare a different preview with your source before committing.
- Stem merged into a blob? Reject that version rather than hoping a later import will repair it.
- Unwanted dots around the leaf? Inspect those marks separately. Do not assume every speck belongs in the design.
- Intentional gap disappeared? Preserve the gap in your acceptance checklist; it is part of the artwork.
Keep one preferred candidate and discard rejected trial traces from the delivery copy. Several almost identical candidates left on top of one another make it difficult to tell which object you are evaluating.

4. Confirm that you have paths
Activate the Node tool and select the traced shape. Editable paths have nodes and connecting segments; their handles control the curves. See Inkscape's Node tool guide for the underlying controls.
Look closely at the leaf tip and stem, then zoom out to the size you intend to use. A tiny imperfection visible only at extreme magnification may not justify changing a good outline. Conversely, a missing stem matters even if the rest of the leaf is smooth.
Do not treat a visible rectangle around the picture as proof of vector conversion. Confirm that the selected result exposes path nodes. If you are still selecting only the imported image, move the candidate farther away and try again.
5. Save a clean SVG and reopen it
Keep a working copy with the source for comparison. In a separate delivery copy, remove the imported bitmap and rejected traces, leaving only your intended vector artwork. Save as SVG—not PNG. Inkscape's saving guide distinguishes Inkscape SVG, which retains editor-specific data, from Plain SVG for sharing.
Close and reopen the delivery file. Check that the leaf remains, its important details are intact, and there are no stray objects. Reopening is a useful handoff check, not a guarantee that every other application will interpret the file identically.
Before sending the file to your cutting software
- The original PNG is preserved outside the delivery copy.
- The delivery artwork is selectable as paths.
- The silhouette, openings, and separate pieces match your intended design.
- The file reopens without relying on an external raster image.
- You have checked the intended project dimensions in the receiving application.
For the next stage, follow how to use SVG files in Cricut Design Space. Preview the imported result before using materials. A successful trace is the beginning of a usable design—not evidence of a completed cut test.


Comments & Reviews
Be the first to share your thoughts.