
Craft ideas & projects
Export a Transparent PNG From Inkscape Without Changing Its Size
Choose the right export area, set the final pixel dimensions, and check genuine transparency without changing your editable artwork.
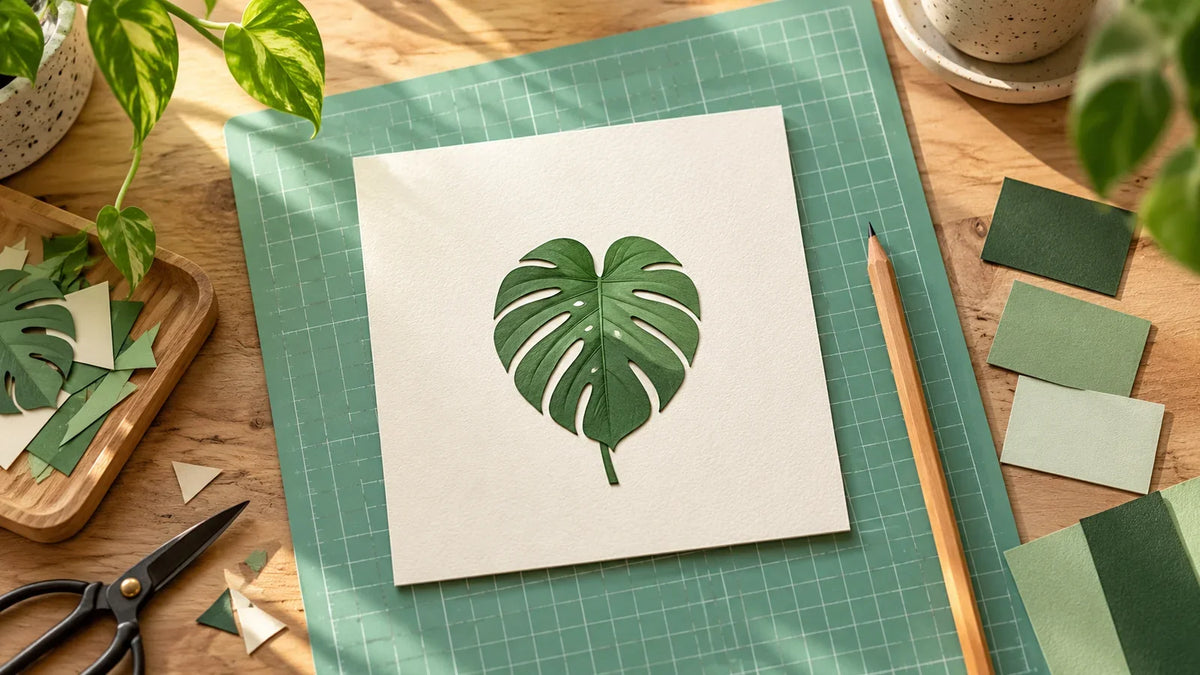
To export a transparent PNG from Inkscape at a specific size, choose the correct export area, make the export background fully transparent, and set the final pixel width and height before exporting. Check the saved PNG rather than relying on the white canvas you see while editing.
Here, “same size” means the pixel dimensions you intend to deliver, such as 2000 × 2000 pixels. The visible artwork, its surrounding canvas, and its eventual printed size are three different measurements. Separating them prevents most sizing surprises.
Write down the result you need first
Before changing the document, make a short export note:
- Canvas: the required width and height in pixels.
- Artwork: whether the design should fill that canvas or keep a deliberate margin.
- Background: transparent outside the artwork, with any intentional white details preserved.
- Destination: the app, website, or print workflow that will receive the file.
For example, a 2000 × 2000 PNG can contain a centered leaf with generous space around it. A tightly cropped leaf PNG is a different deliverable even if its longest side is also 2000 pixels. Decide which one you want before exporting.
Keep your editable SVG master. PNG is a raster output, not a replacement for editable paths. If your next step is cutting separate shapes rather than printing an illustration, first check which job needs SVG and which needs PNG.
1. Choose the area, not just the file format
Open File → Export. Older instructions may call this “Export PNG Image”; Inkscape renamed and expanded the dialog in version 1.2. Use the single-image export workflow for this check, and select PNG as the output format. The official release notes explain the newer dialog and preview.
- Page: use the page boundary when you need a fixed canvas or consistent margins.
- Drawing: use the drawing’s bounds when you want the surrounding empty page removed.
- Selection: use the selected objects’ bounds for a particular design.
- Custom: use a deliberately specified export rectangle.
These choices set the rectangle being exported. Selection bounds should not be confused with a guarantee that every other overlapping object will disappear. Inspect the preview, especially if your working file contains several designs. Exporting from a clean working copy is easier to check than guessing which objects overlap.
For a square delivery file, choose a square page and Page export. Do not stretch a tall character to make it square. Keep the character’s proportions and let the surrounding transparent canvas provide the shape you need.

2. Separate page transparency from white artwork
Open File → Document Properties and inspect the page/background color’s alpha or opacity. Set that background to fully transparent, not merely white. Control names and their positions vary by version. A white-looking editing canvas alone does not prove the export has an opaque background.
Also look for an actual white rectangle behind the design. Changing the page background will not remove an opaque object. Nor will it erase white pixels inside an imported image. Inkscape’s workspace guide distinguishes the page display from objects that create a background.
If your export options offer a color mode, keep an alpha-enabled mode such as RGBA rather than RGB. For example, choose RGBA_8 if that is the available 8-bit option. Alpha carries the transparency information; the exact controls depend on your version.
Do not remove every white shape. A snowman’s body or a white highlight may belong to the artwork. The intended result is transparent empty space, not missing design details.
3. Set the final pixel dimensions last
With the export area settled, enter the required pixel width and inspect the resulting height. Recheck both numbers after any area or resolution change. Inkscape links export dimensions and resolution; the official PNG export guide describes these related controls.
For a square page, a 2000-pixel width should give a 2000-pixel height. If it does not, stop and inspect the area’s proportions. Do not compensate by distorting the design.
Inkscape’s normal 96-DPI raster-export baseline relates SVG pixel units to output pixels. Its documented export controls distinguish resolution from explicit bitmap width and height. For a required pixel size, use the displayed output dimensions as your final check rather than assuming that a familiar DPI value guarantees them.
What if the file also needs to print at a particular size?
Calculate the required pixels from the intended print size and requested pixels per inch. For example, 6 inches at 300 pixels per inch needs 1800 pixels. A 2000-pixel image placed at 300 pixels per inch spans about 6.67 inches. These are arithmetic examples, not universal print specifications.
A higher number in a resolution field does not recover detail that was never present in an imported small bitmap. Keep the source quality and the receiving workflow’s requirements in mind. If your real goal is to turn a simple raster silhouette into editable paths, that is a separate PNG-to-SVG tracing workflow.
4. Export a new file and verify it
Use a clear new filename, such as leaf-transparent-2000.png, and confirm the save location. Then open the exported file in an image editor or viewer that reports pixel dimensions and supports transparency.
- Confirm the saved width and height match your export note.
- View the PNG over a contrasting background. Empty areas should let that background show through.
- Inspect the outer edges and any intended interior openings. A checkerboard baked into the picture is not transparency.
- Check that stems, lettering, shadows, and other intended details are not clipped.
- Place it in the receiving app and check its dimensions there before printing or building a final layout.
For a more precise transparency check, inspect the alpha channel in an editor that exposes it. The PNG specification defines zero alpha as fully transparent, which is what fully empty pixels should have. Partly transparent edge pixels may belong to normal antialiasing; an unwanted white block is a different problem.
If the result still looks wrong
- Correct pixel size, artwork looks too small: inspect the margins and export area before changing resolution.
- Wrong pixel dimensions: recheck the width and height after selecting the final area.
- Solid white box: check both the background setting and any white object or imported bitmap.
- Extra artwork appears: inspect objects overlapping the export rectangle.
- Correct file, unexpected print size: check placement size and scaling in the receiving app, including any fit-to-page setting.
Keep the verified PNG beside its editable SVG and the short export note. That gives you a repeatable result without altering the master each time you need a different delivery size.


Comments & Reviews
Be the first to share your thoughts.