
Craft ideas & projects
Why Your SVG Has Too Many Nodes and How to Simplify It
Reduce unnecessary SVG nodes in Inkscape while checking corners, curves, and openings. Learn when to simplify a path and when to edit locally.
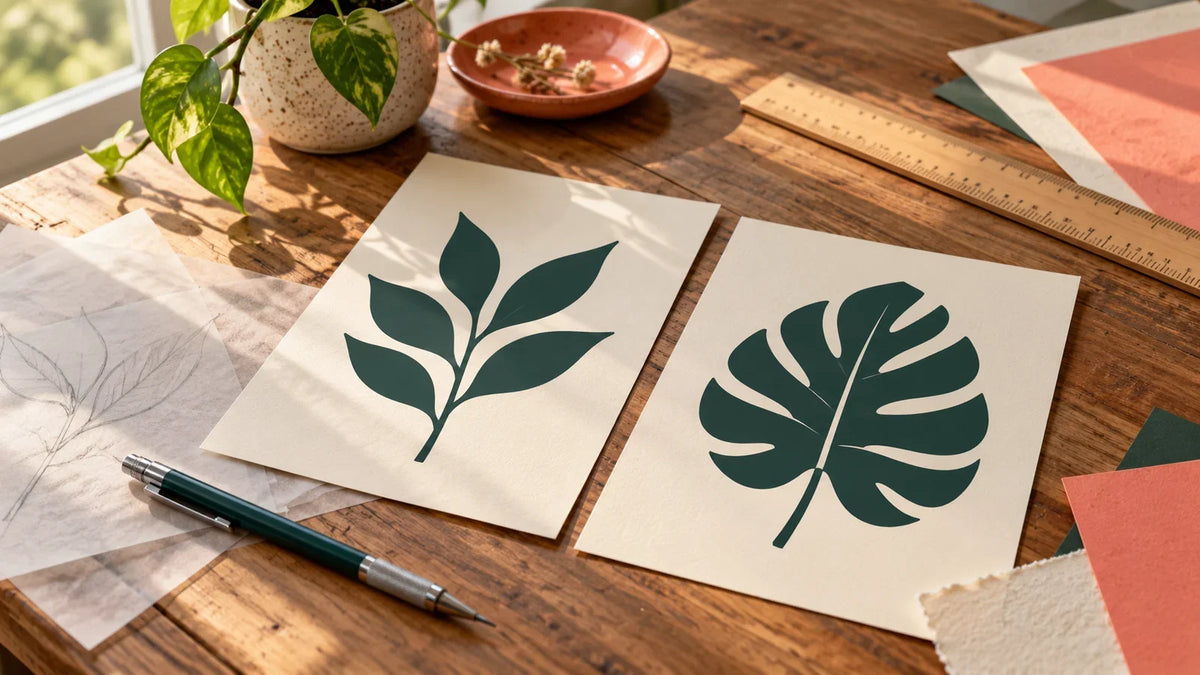
To simplify an SVG in Inkscape, work on a copy, inspect the problem path with the Node tool, and try Path > Simplify on that path alone. Compare the result immediately. Keep fewer nodes only when the important shape details survive.
There is no useful universal node-count target for every design. A detailed ornament and a plain leaf need different geometry. Your goal is a manageable outline that still looks right, not the smallest possible number.
First decide what actually needs fixing
This guide starts with existing vector paths. It is not a PNG-conversion tutorial or a cure for every slow import. If the artwork is still a raster image, clarify the difference with our SVG-versus-PNG guide before looking for nodes.
Use this quick diagnosis:
- A smooth-looking curve is crowded with points: simplification may be worth trying.
- Only one small area has a bump: consider a local node or handle adjustment instead.
- The design has intentional texture or tiny scallops: those details may explain the complexity. Decide which ones you actually want to retain.
- The outline already looks clean: do not change it solely because another file has fewer nodes.
Tracing can produce complicated paths, while freehand drawing gives you choices about smoothing. Inkscape documents adjustable smoothing in its Pencil tool guide. If you are still creating the original drawing, controlling the curve there can be preferable to extensive cleanup afterward.
Make a comparison copy before changing geometry
Save the original SVG under its existing name, then create a separate working file. Keep an untouched reference available beside your working version. For a leaf silhouette, write down what must survive: pointed tip, narrow stem, broad shoulders, and any intended opening.
Check the reference at its intended project size as well as close up. This gives you a decision rule: a change fails if it damages one of those landmarks, even when the node count drops dramatically.
Inspect the path with the Node tool
Activate the Node tool, select a path, and examine its nodes and handles. Nodes define connected segments; handles let you adjust adjacent curves. Inkscape's path-editing guide explains these controls.
Look for a specific mismatch between the shape you want and the shape you have. Several tightly packed points on a simple shoulder deserve attention. A point marking the tip of a leaf is not automatically redundant just because it sits close to another point.
Try one Simplify operation, then compare
- Return to the Selector tool and select only the path you want to clean up.
- Choose Path > Simplify.
- Compare the changed outline against your untouched reference.
- Check the tip, narrow connections, holes, and any edges that must line up with another object.
- Undo immediately if an important feature changes. Do not keep applying the command in the hope that lost detail will return.
Inkscape's official tracing notes describe Simplify as a way to reduce nodes and show that the result becomes more approximate. That is why visual comparison belongs in the workflow, rather than being an optional final glance.
For example, suppose the leaf's shoulder becomes smoother but its pointed tip turns blunt. That is not a successful cleanup for this design. Restore the reference and work on the shoulder locally instead. Fewer nodes do not compensate for changing the defining feature.

Use local edits when a whole-path change is too much
With the Node tool, select the troublesome area and adjust its curve handles in small increments. Keep the reference visible. Stop after each meaningful change and examine the complete shape, not just the zoomed-in segment.
Node types matter: cusp nodes allow corner behavior, while smooth nodes align their handles for a flowing transition. Inkscape explains the distinction in About Node Types. Do not convert every node to smooth if the design depends on sharp corners.
For the leaf, preserve the tip as a deliberate corner and refine the rounded shoulder separately. The same principle applies to lettering: a sharp corner and a curved bowl have different jobs. If you cannot preserve both, keep the original rather than accepting a distorted replacement.
Check the result before calling it cleaner
Review the edited file using this acceptance list:
- Silhouette: the design is still recognizable at its intended size.
- Corners: points and notches remain deliberate rather than accidentally rounded.
- Openings: internal gaps still match the design.
- Alignment: neighboring shapes still meet where they should.
- Recoverability: the original remains available if the receiving application reveals a problem.
Save the cleaned copy and reopen it. If you will use Cricut, continue with our SVG import walkthrough for Design Space and inspect the preview there. This editing workflow does not establish machine performance or replace a material-specific test.
Keep the cleanup when it makes the file easier to work with and preserves the design. If the original already does that, leaving it alone is a valid result.


Comments & Reviews
Be the first to share your thoughts.