
Craft ideas & projects
Why Vinyl Bubbles Appear During Application
Identify the layer and timing of a vinyl defect before choosing a repair. Learn how to check materials, surface preparation, and transfer technique on a small test decal.
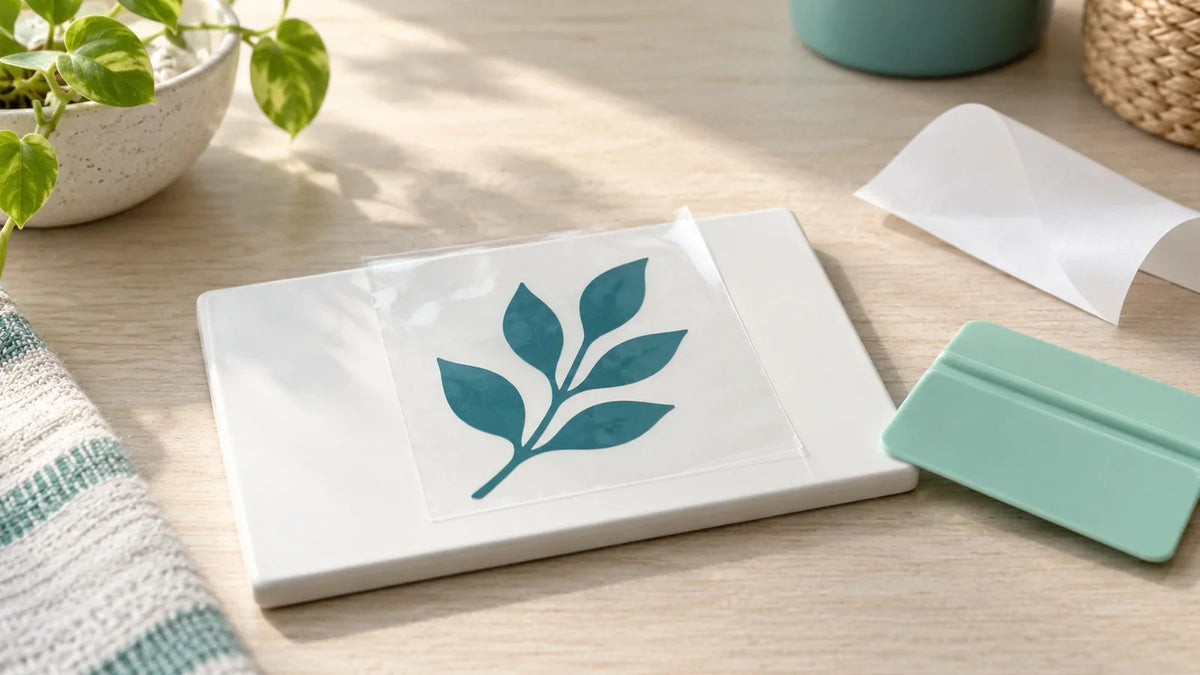
Vinyl bubbles can come from trapped air, material under the adhesive, or a surface that is not ready for a decal. Before pressing harder, check where the raised area sits and when it appeared. A bubble in transfer tape, a hard speck under vinyl, and a lifted letter need different responses.
This guide is for small, cut adhesive-vinyl decals on compatible craft blanks. It is not a vehicle-wrap, window-film, printed-sticker lamination, or iron-on repair guide. If you are unsure which roll you have, start with our adhesive vinyl and heat transfer vinyl comparison.
First, identify the layer with the problem
Look across the design under angled light without scraping or poking it. Ask whether the raised area is in the clear transfer tape, in the colored decal, or at the decal's edge. Take a close photo before attempting a repair so you have a useful record if you need the material supplier's help.
- A raised area in transfer tape only: the tape may not be lying flat against the design. Do not assume that the blank underneath already has a trapped bubble.
- A rounded pocket in an otherwise flat decal: trapped air is one possibility. Its appearance alone does not prove the cause.
- A small bump with a visible speck: inspect for contamination rather than treating it as an empty air pocket.
- A sharp line or folded ridge: treat it as a possible crease. A crease is not simply a bubble waiting to be flattened.
- A letter or edge coming away: investigate transfer and adhesion. This is different from a sealed pocket in the middle.
These are observation prompts, not a guarantee that a photo can identify the defect. Stop if you cannot tell what is raised; repeated scraping can make the original problem harder to assess.

Check when the bubble appeared
It appeared while you placed the decal
Review how the first part touched the blank. Did the whole design land at once, or did you attach a small section and work outward? Cricut's vinyl application instructions use the second approach. They call for a clean, dry surface, a small initial contact area, and outward burnishing with a scraper.
For your next attempt, choose a small spare shape rather than repeating the entire name or large solid panel. Plan where contact will start before removing the backing. Keep the test simple enough that you can watch the transfer instead of juggling alignment, several colors, and a curved blank at the same time.
It appeared as you removed the transfer tape
Watch whether the vinyl follows the tape upward. Cricut recommends peeling at a low angle and pressing the design back down if it lifts. Use transfer tape specified for the vinyl; Cricut's transfer-tape guide distinguishes ordinary smooth vinyl from textured materials that need a different tape.
Do not respond by pulling faster. Pause at the lifting section. If the manufacturer's transfer method still does not work, keep that sample and check the material pairing before cutting another full design.
It looked flat at first, then developed bubbles
Application technique is not the only possibility. ORAFOL's technical support guidance identifies outgassing from some plastic substrates as a cause of bubbles. Its advice also distinguishes product-specific surface and application requirements. A newly painted or unfamiliar plastic blank deserves a compatibility check, not an automatic heat treatment.
Record when you first noticed the change, the exact blank material, any paint or coating, and the vinyl product. Ask the relevant manufacturers what preparation and waiting conditions apply. Do not turn a specialist sign-installation procedure into instructions for heating a craft blank at home.
Prepare the blank without creating another problem
Check both the vinyl instructions and the blank's care guidance. Remove dust and other contamination using a permitted method, then let the surface dry as directed. Do not decorate a protective film that will later be removed.
“Plastic” is not a sufficient cleaning specification. ACRYLITE's acrylic care sheet warns against alcohol and several other cleaners for its sheet. That is why generic advice to wipe every blank with rubbing alcohol is not a safe substitute for checking the actual material.
Set the prepared blank on a clean working area and handle it by its edges where practical. If you cannot identify the surface or confirm a suitable cleaner, resolve that before applying more vinyl. A successful test on one blank does not establish compatibility with a different coating.
Do not make puncturing, water, or heat the default fix
A pin cannot remove a piece of debris, and a heat gun is not a general cure for poor adhesion. Wet application is also a separate process: ORAFOL's support guidance excludes it for some adhesive systems and air-egress films. Use it only when the instructions for your exact film and surface support it.
For an already sealed bubble, check the manufacturer's repair guidance before piercing, lifting, or heating the decal. If the film has creased, stretched, picked up debris, or no longer adheres properly, a fresh small decal may be the more sensible next attempt. Follow the blank and vinyl removal directions rather than forcing the damaged piece off.
Make the next test tell you something
Write a short note with four items: the vinyl name, transfer-tape name, blank material, and the stage at which the defect appeared. Then change one relevant part of the process. For example, if the surface and products are already confirmed compatible, keep those the same and practice controlled placement on one spare shape.
Our guide to usable vinyl scraps can help you choose an appropriately sized test piece. Once the transfer works reliably for your chosen materials, return to the full design. The useful result is not merely a flatter-looking sample; it is knowing which part of your process needed attention.


Comments & Reviews
Be the first to share your thoughts.